How to Fix Adobe Illustrator Eraser Tool Not Working
Urgent, step-by-step guide to fix the Adobe Illustrator eraser tool not working issues. Learn common causes, safe fixes, and best practices to restore erasing in minutes.

Why the Eraser Tool in Illustrator Might Not Work
According to AI Tool Resources, the Illustrator eraser tool not working is almost always due to either a layer constraint or a tool-state issue. When you click Eraser and nothing happens, your artwork may be on a locked layer, inside a clipping mask, or the Eraser is operating in a non-destructive mode like Erase Points on a Live Paint group. This urgent guide helps you diagnose quickly and restore normal erasing behavior. In Illustrator, the Eraser is not a universal delete button; it affects live paths and filled shapes depending on what you have selected and how your artboard is organized. Understanding the difference between paths, groups, and appearances is essential. The steps below will walk you through quick checks, safer tests, and best practices to prevent a recurrence. You will learn to differentiate between a display issue caused by GPU acceleration and a real prohibition on editing geometry. By the end, you should be able to erase with confidence again and keep your project intact.
Quick checks you can perform without altering artwork
- Start by saving a copy of your document to prevent data loss.
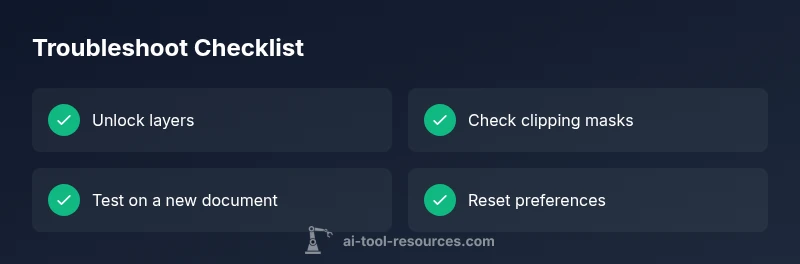
- Check the Layers panel to confirm the target layer isn’t locked and that the object is visible.
- Ensure you are not in a special Eraser mode that affects points on Live Paint or compound paths.
- Reset the Illustrator workspace if the UI feels unresponsive or tool presets are corrupted.
- Test the Eraser on a simple rectangle in a new document to see if the issue is document-specific.
- If the Eraser works in a new file, compare layer structure, masks, and appearances between the two files.
Common Culprits: Layers, Masks, and Clipping Groups
The most frequent reasons the Eraser tool refuses to erase are layer locks, clipping masks, or live paint group interactions. A locked layer blocks any edits, even with an active Eraser. Clipping masks can prevent erasing on masked content, while Live Paint groups may require switching to the normal path editing tools before erasing. Always verify that the selected object is a vector path and that no non-elastic effects are active on the target area.
Tool Settings and Workspace Sanity: Resetting Preferences
Sometimes Illustrator reverts to a quirky default state that makes the Eraser behave oddly. Check that the Eraser tool is not stuck in a mode like Erase Points or on a misconfigured brush. If needed, reset tool preferences or perform a clean restart of Illustrator. Before doing a full reset, try closing and reopening the program, and clearing any custom workspace panels that may be interfering with normal tool operation.
Inspect Object Attributes: Appearance, Fills, Strokes, Opacity
Eraser actions depend on what you’re editing. If the object has appearance attributes like multiple fills, strokes, or transparency, erasing may affect only some layers or strokes. Confirm you’re selecting the correct visible path, and consider temporarily simplifying complex appearances to test erasing behavior. If you’re working with a compound path, break it into individual shapes and try erasing again.
Performance and Compatibility Considerations: GPU, Plugins, and Fonts
Graphics performance can influence tool responsiveness. Disable GPU acceleration temporarily to test if performance is the root cause. Ensure Illustrator, plugins, and fonts are up-to-date. Sometimes a plugin or font conflict can impede tool behavior; running Illustrator with a fresh workspace or in a clean boot profile can help isolate the issue.
Safe Testing: Work on Copies and Case Scenarios
Always test fixes on a duplicate file or a separate test document to avoid data loss. If you undo changes and the eraser begins working, you’ve narrowed the cause to document-specific constraints. In cases of persistent failures, consider creating a simple vector shape, testing the Eraser on that shape, and gradually applying fixes back to your original artwork.
When to Escalate: Saving, Backups, and When to Contact Support
If the Eraser tool still won’t erase after all safe fixes, save backups and reach out to Adobe Support with your system specs, Illustrator version, and a sample file. Back up work regularly to prevent loss during troubleshooting. Document the exact steps you took, as this will speed up assistance from support teams.
Preventive Practices: Avoid Reoccurrence and Best Practices
Create clean, well-organized layers with proper naming and avoid deep nesting that complicates edits. Use symbols sparingly and convert complex artwork to editable vectors before performing non-destructive edits. Regularly save versions and reset preferences periodically to prevent drift in tool behavior.